Hand Dipped Beeswax Tapers
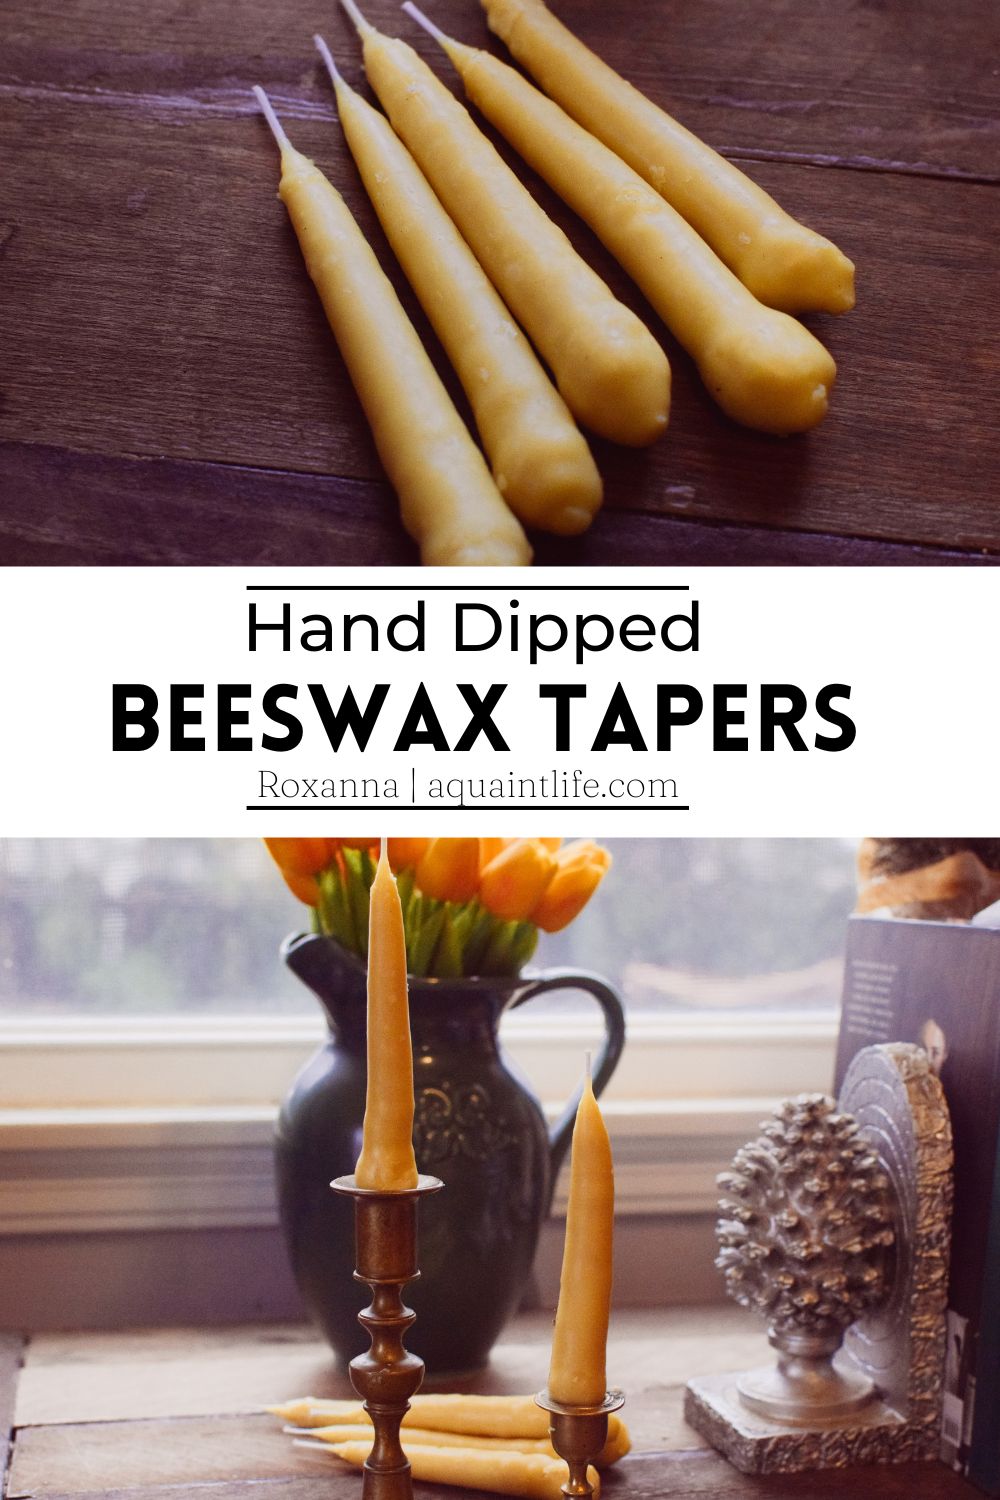
These Hand Dipped Beeswax Tapers create a simply beautiful naturally shaped beeswax taper with easy to follow directions.
Make Tapers With Me
In our home, I love to use natural items for both home health and décor whenever I can. Using these hand dipped beeswax tapers on our dinner table has helped create a beautiful natural setting for the space. In fact, anywhere I place these tapers, it gives the area something unique. When lit, they offer a warm glow that only further contributes to the beauty of these natural candles.
I will be sharing with you somewhat of a hack to make these with a little more ease. If you have ever made candles before, you know how things don’t always go as smoothly as you might have thought they would. However, with this simple hack, I promise you that making hand-dipped beeswax tapers is such a simple process. You can likely find things around your house to use instead of the extra cost of a candle kit.

These Beeswax Tapers Are…
- Easy hand-dipper candles great for first time candle makers.
- So much fun to make and will give your kitchen table an old world look.
- Beautiful candles that make great gifts.
- A great way to have natural beeswax candles without the expense. Dipping your own candles allows for a cost savings of almost half the price of purchasing hand-dipped candles.
- A fun tradition to do to stock up on tapered candles that have a unique tapered look.
Why Beeswax?
Beeswax is the healthiest choice in candle making. It even has the highest melting point of any wax out there so it will burn longer. However, the use of beeswax in our home is primarily due to the benefits that only beeswax can provide.
Beeswax acts as a natural air purifier. When you light a beeswax candle over soy or another type of candle. The negative ions naturally present in beeswax will attach themselves to dirt, mold, or other air pollutants causing them to drop out of the air. This amazing fact is quite astounding and when you realize just how dirty other candles can make the air when lit, it is hard to use anything else.
Ingredients
Beeswax- you can use yellow or white bees wax. I recommend getting beeswax pellets over blocks. It will make the whole process much easier. If using a block of beeswax, you will need to grate it down with a cheese grater or finely chop with a knife to help break it down. If using beeswax sheets you can break them up. This is my favorite source for beeswax pellets.
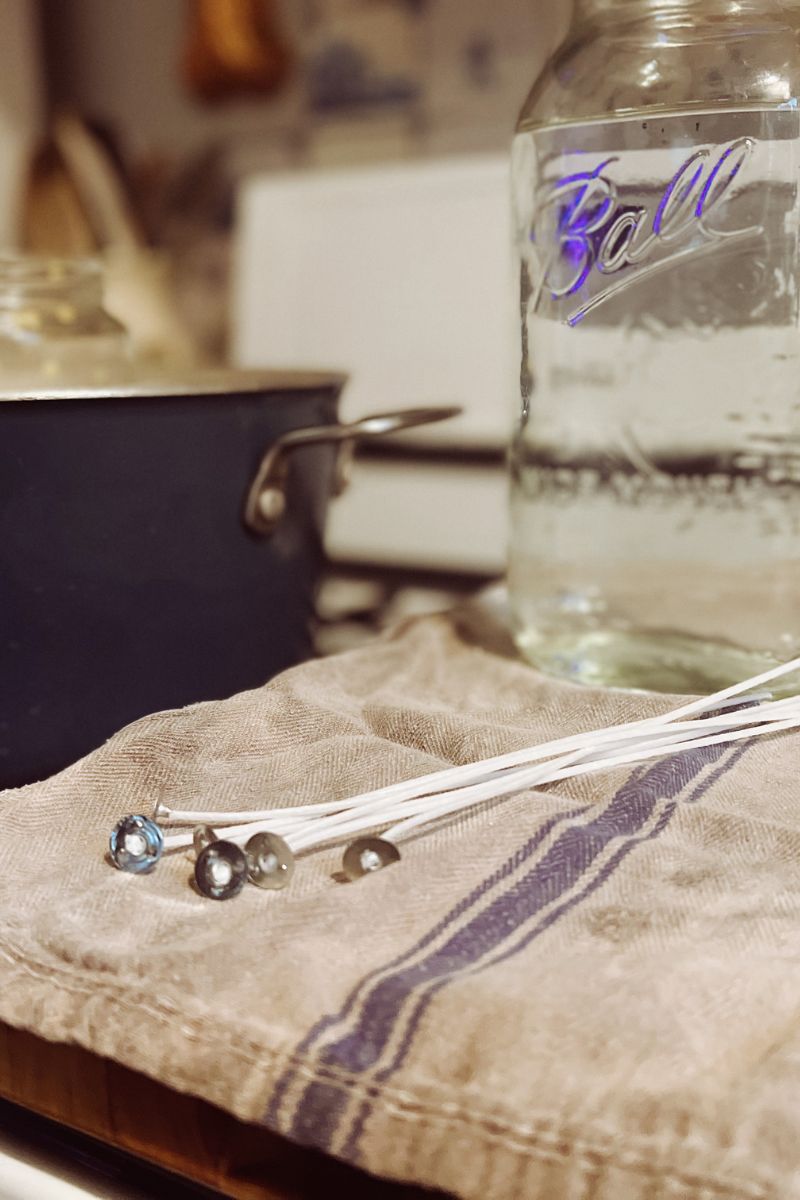
Wicks- You will need a package of wicks for tapers. The length of wick you buy is your preference. You can get them in 6, 8 and 10 inch lengths. I go with 8 inch personally.
Coconut Oil- use virgin coconut oil for your candles. This helps the candle burn slower. You can leave it out but I recommend adding it in so your candles last longer and burn more evenly.
Water- you will need cool water or cold water to dip the candles in alternating between the candle wax and water.
Tools
Double Boiler (or sauce pot with an old jar and old thermos)
1/2 Gallon Mason Jar (or some other long jar for dipping)
Scissors
Directions
The first step is to set up your workstation. I like to place a large piece of parchment paper underneath to protect the work area or an old rag. I make a workstation near my stove to have easy access when I need to refill my beeswax. You will want to keep the thermos or double boiler filled to the length of your candle to frequently top it off.

Fill a 1/2 gallon mason jar with cold water and have your wicks ready for dipping.
Note: If you use the linked wicks those are ready to go but if you are cutting your wicks from a spool you will need a weight to tie at the end. I suggest using a metal nut (a steel hex nut) to weight the base of the wick when dipping.
In a double boiler, melt the beeswax pellets. (You can also use an old tin to melt the beeswax by placing the beeswax in the tin and placing the tin inside a saucepan with the water level about a 1/3 of the way filled.)

Allow the beeswax to melt completely. Pour the melted wax it into the thermos or you can dip it directly from the candle pitcher if you have one. The beeswax will take several minutes to melt. Once melted add the coconut oil if desired. Be sure to have extra wax on the stove top melting so you can refill the wax as needed.
Hand Dipping
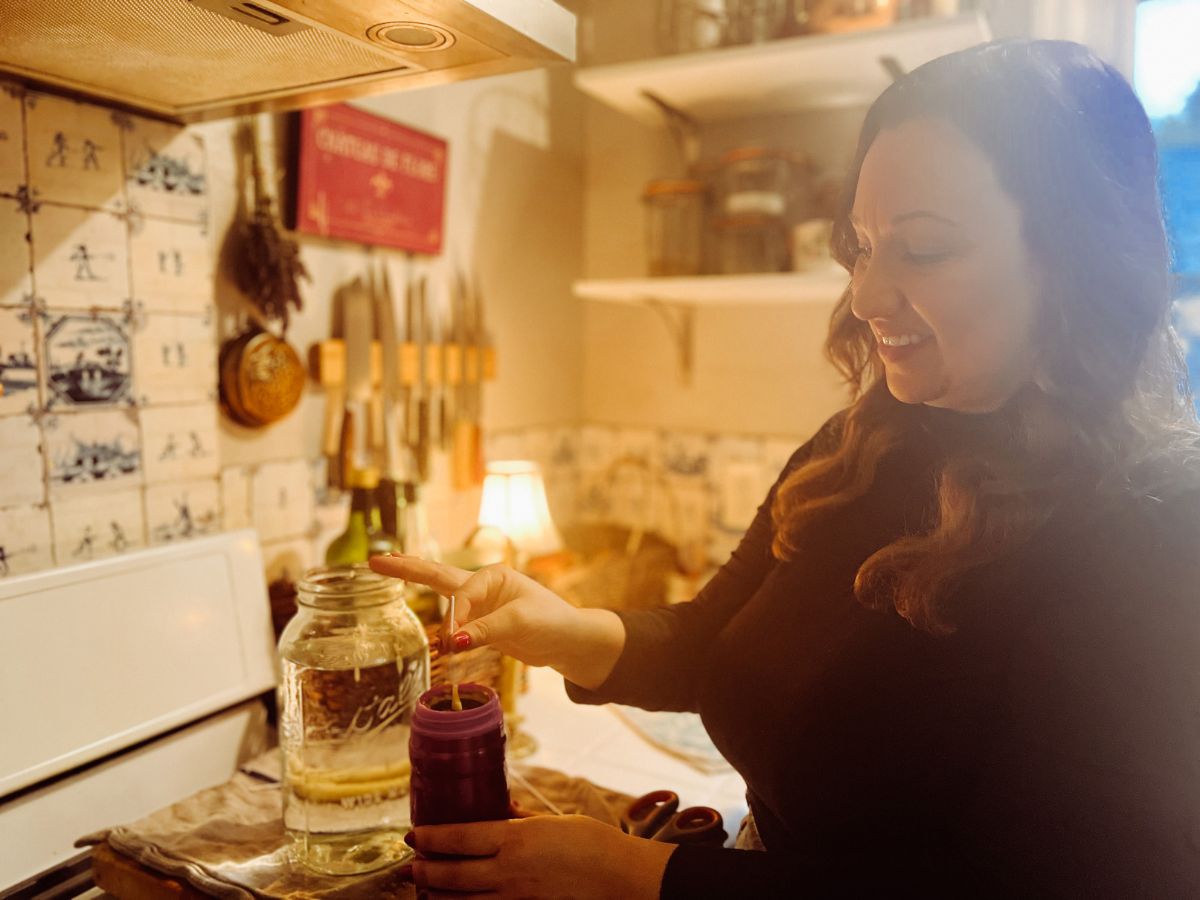
To begin the dipping process begin by holding the top of the wick then begin alternating between dipping into the beeswax and the cold water. Starting the first dip into the melted beeswax.

Be sure to dip the length of the candle so that the wick is coated evenly with the beeswax.

You will dip until you see a candle forming, If using a nut, you can snip that nut or end piece of the wick off and continue to dip the candle until it is done.

Before the candle sets use your finger or a flat surface to press the base to shape it so that it fits in your candle holder.

Allow the candles to be fully set before lighting and trim the wick as needed. Setting should take about an hour.

Notes
- If you are cutting wicks from a spool, you can use a metal washers to tie at the end and use it as a weight.
- If making your own double boiler, be sure to melt the wax in a container you use specifically for these sorts of projects as beeswax is very difficult to scrub off completely. A tall narrow thermos or a an old wide mouth mason jar can be used.
- Be sure to have extra wax melted nearby so that you can top off your thermos or double boiler.
- If you don’t have a metal candle-making pitcher, use an old coffee thermos to hold the wax as you dip. Make sure it is one you don’t mind tossing or that you keep specifically for candle making.
- Never pour hot wax down a drain. You can store and reuse excess wax by placing a lid on the thermos or pouring the wax into a container to use for later.
FAQ
Why is coconut oil listed as optional to add?
Adding a little coconut oil helps the candle burn more consistently and helps prevent tunneling.
Should I use yellow or white beeswax?
I use both yellow and white beeswax for making these hand-dipped tapers. I love the look of both for my candles. Beeswax turns white due to the filtration process while yellow beeswax is typically processed less. Whichever type you choose make sure to choose beeswax that does not contain other fillers and that you are indeed getting 100% pure beeswax.

Shop This Post
*Disclaimer: This post may contain affiliate links, which means I may receive commissions if you choose to purchase through the links I provide (at no cost to you).
Pin For Later


![Practicing Hospitality At Home [6 Easy Tips]](https://aquaintlife.com/wp-content/uploads/2020/10/practicing-hospitality-at-home-1.jpg)

