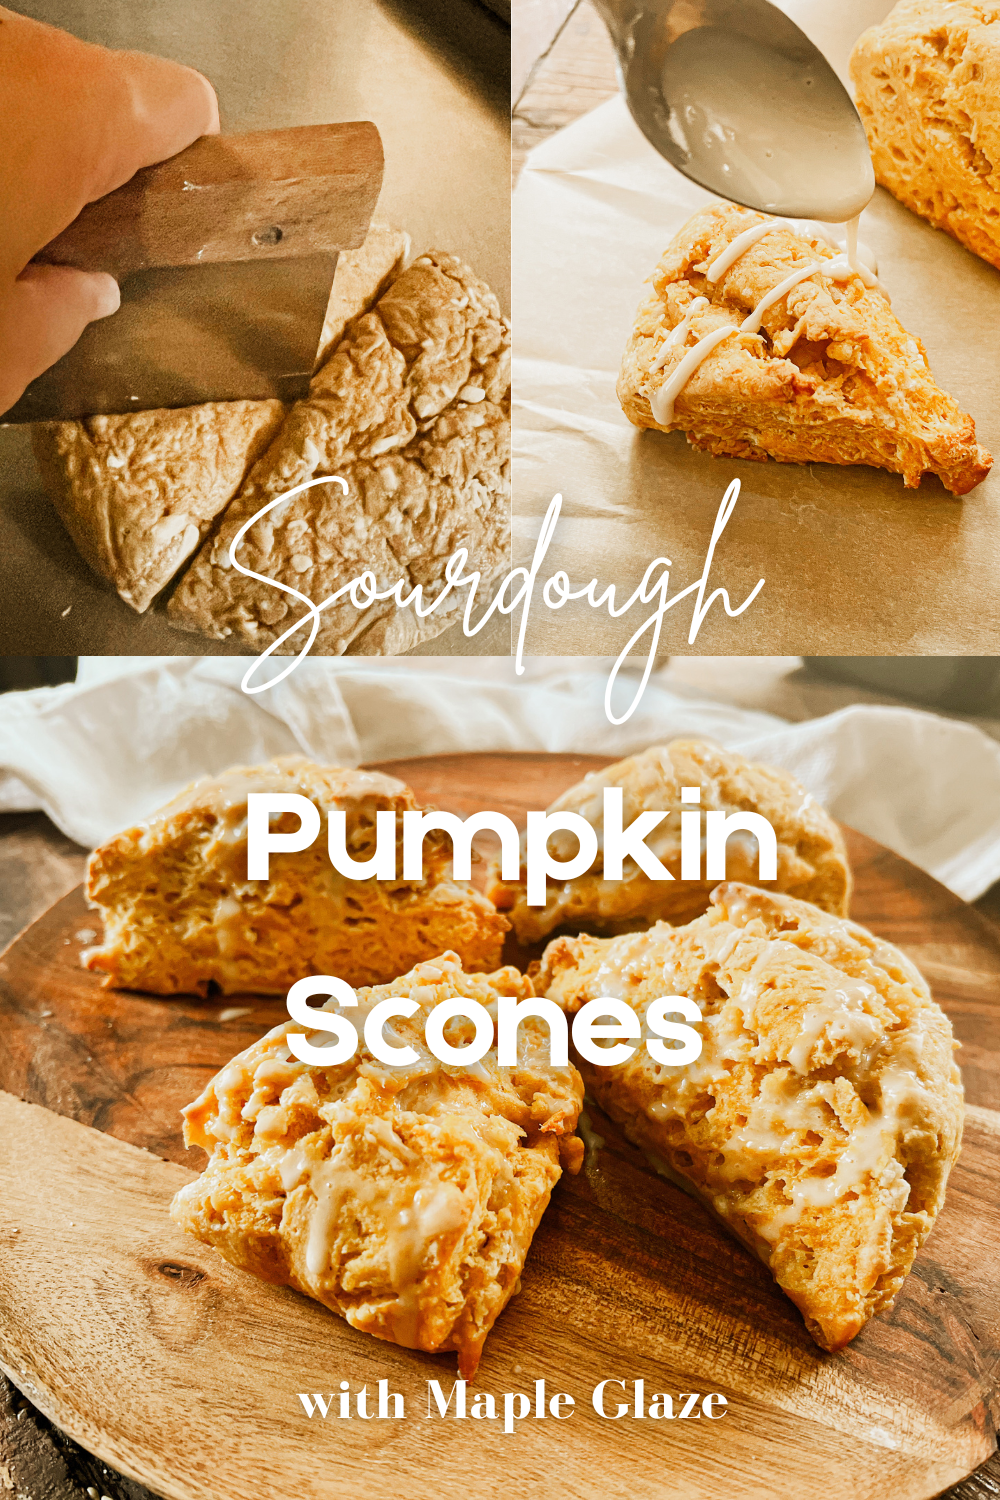
Tender Sourdough Pumpkin Scones with Maple Glaze
These sourdough pumpkin scones are topped with a simple maple glaze and can be made with sourdough starter or discard. These tender scones are the perfect fall treat.

I am well into fall recipes for my little farmstand. Each week, boxes of these have SOLD OUT before the days end. I seem to not be able to prep enough of them to keep them in stock. Admittedly, a good problem. That’s why these have been chosen to share here with you.
These golden pastries are not just a seasonal treat but one that feels the home with all the coziness of fall when baking them yourself. As was evident to me the moment I took the first batch out of the oven. I know this is a recipe, you will come back to time and time again.
Ingredients
Sourdough Starter- you can use active sourdough starter, sourdough discard or starter taken straight from the fridge. All will work fine.
Flour- I use an unbleached organic all purpose flour for these scones but it doesn’t have to be unbleached or organic for that matter. Just use your favorite all purpose flour.
Pumpkin Puree- make sure to use pure pumpkin puree, not pumpkin pie filling for these.
Sugar- you will need both powdered sugar and pure cane or regular white sugar for both the dough and the glaze.
Spices- I love to use pumpkin pie spice for these, it just makes it easier and they come out so flavorful. However, if you don’t have pumpkin pie spice on hand, you can mix up an equal amount of cinnamon, ginger, cloves and a dash of cardamom if you have it.
Maple Syrup- use pure maple syrup not artificial syrup for the best results.
Butter- I use salted butter, if you would like to use unsalted, add a 1/2 tsp of salt to the flour mixture. Make sure the butter is kept frozen and it is essential to grate the butter frozen for small pieces that blend well into the flour mixture.
Baking Powder- make sure it is not expired.
Eggs- I use large eggs for this and adding them at room temperature helps them combine better.
Vanilla- I like to use my homemade vanilla extract for my baking but any good pure vanilla will work.
Milk- I use whole milk or 2% percent milk as the very lowest fat content. Half and half or heavy cream will also work.
*Disclaimer: This post may contain affiliate links, which means I may receive commissions if you choose to purchase through links I provide (at no cost to you).
Tools
Directions
Start by adding the flour, baking powder, pumpkin spice, and sugar to a large mixing bowl. Set aside.
In a medium bowl, add the eggs, vanilla, starter, pumpkin puree, and milk. Mix to combine. Set aside. Grate the frozen butter with a cheese grater and add it to the flour mixture. Use a pastry cutter or your fingers to pinch the butter into the flour mixture until the butter looks like small peas throughout the mixture. Pour in the wet ingredients and use a large spoon to mix the entire contents of the bowl until just combined. Stir just until the dough forms. Don’t overmix.
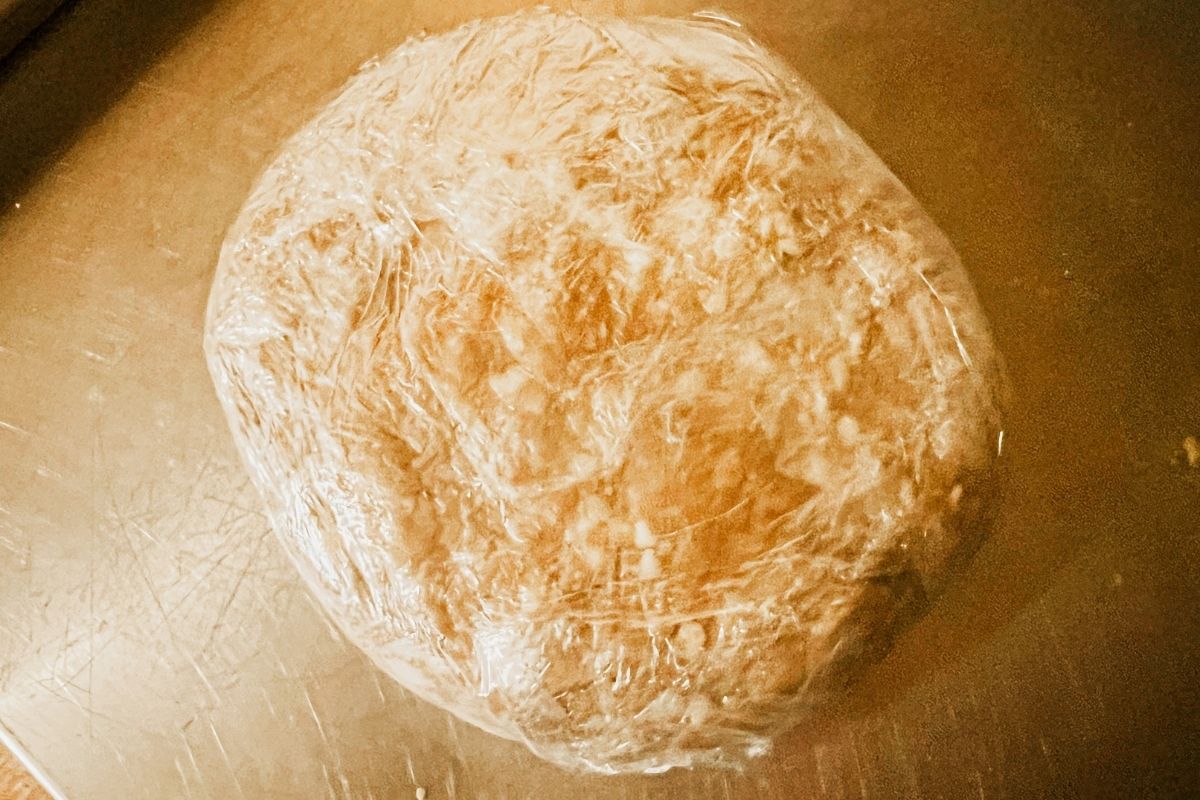
Spread out a piece of plastic wrap over your work surface, and pour the mixture on top and wrap it into a ball. Form a disc shape and pop the dough into the fridge for a minimum of 2 hours or up to 3 days. When ready to bake, preheat the oven to 400 degrees.
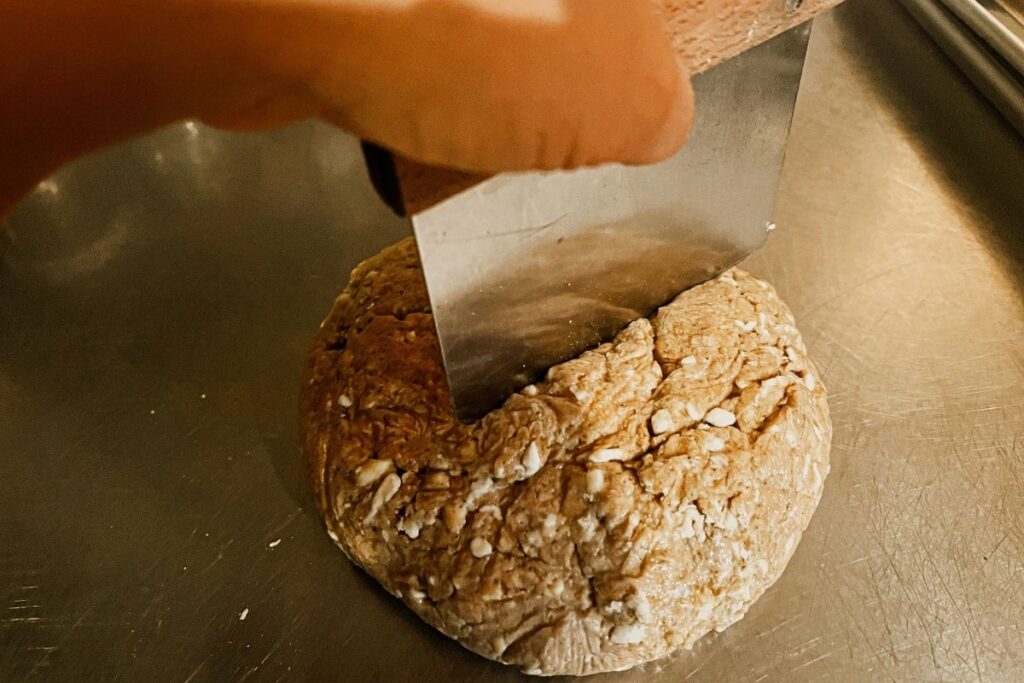
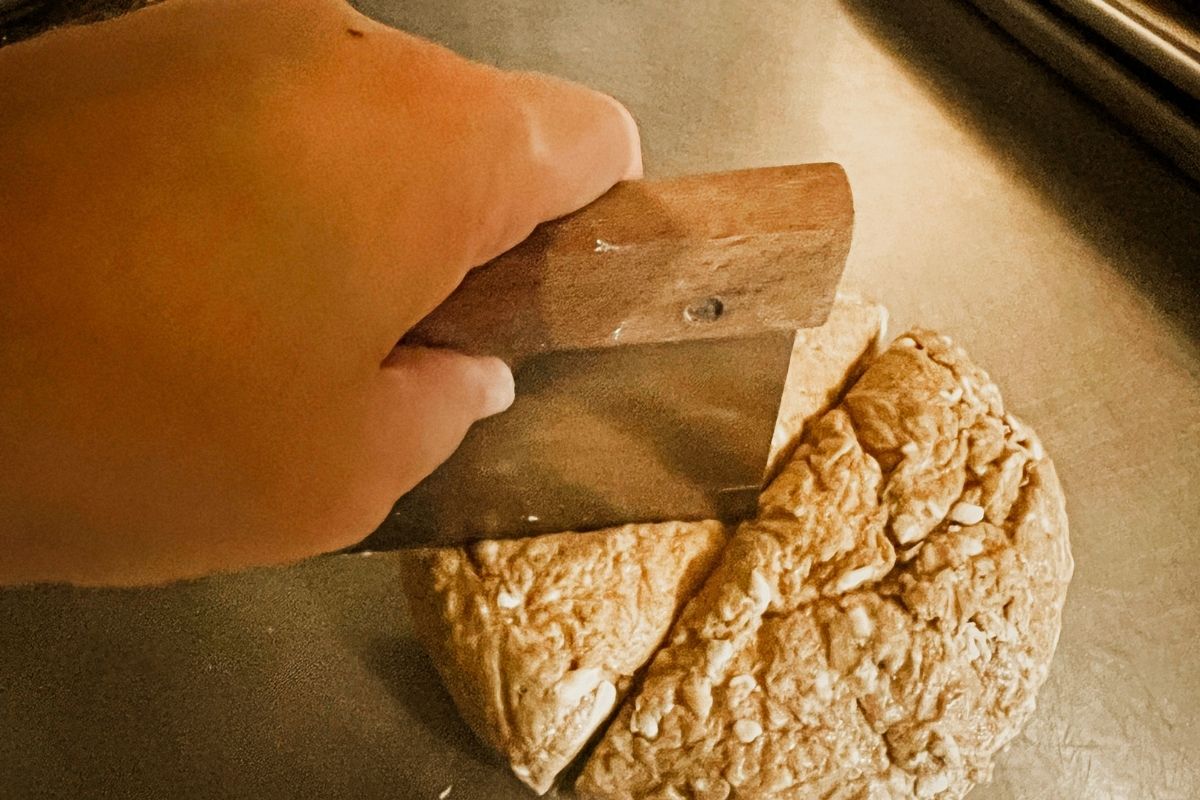
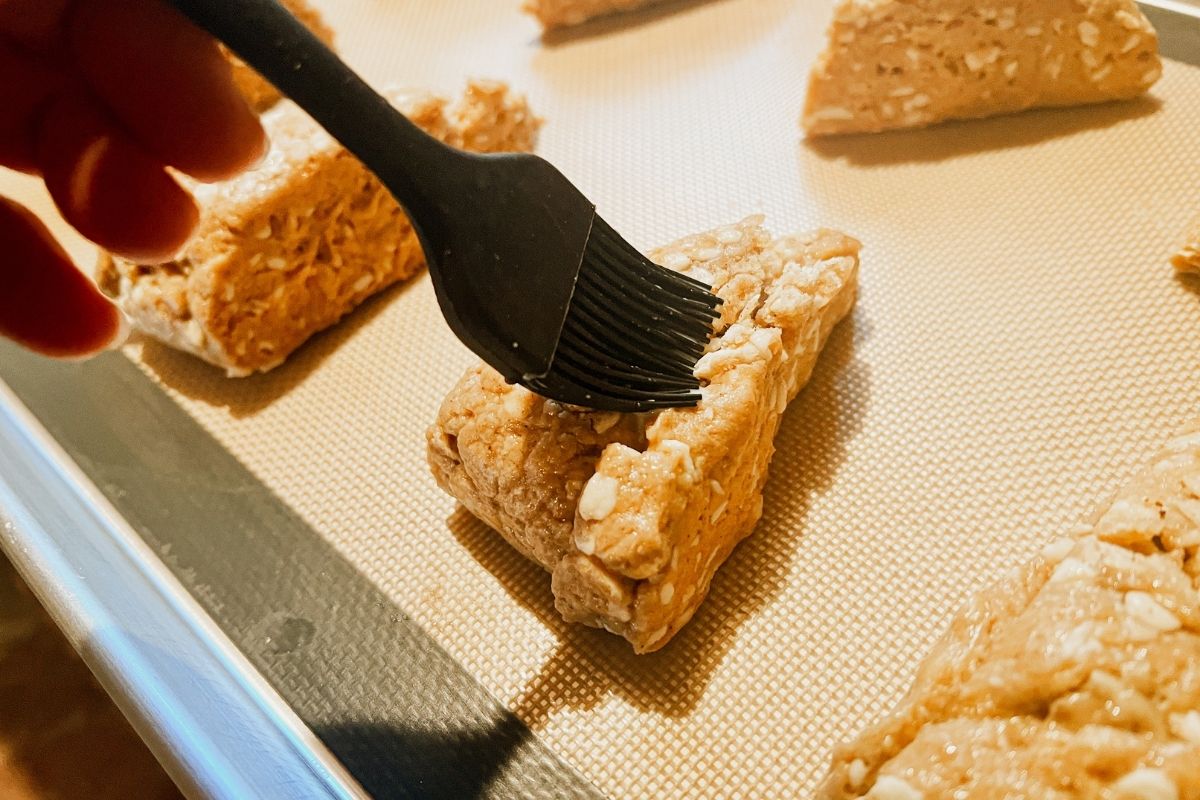
Remove the plastic wrap and cut the disc into 8 triangles. Arrange them onto a lined baking sheet and brush the top of the scones with milk.
Bake them for approximately 22 minutes or until golden and puffed up. Allow them to cool.
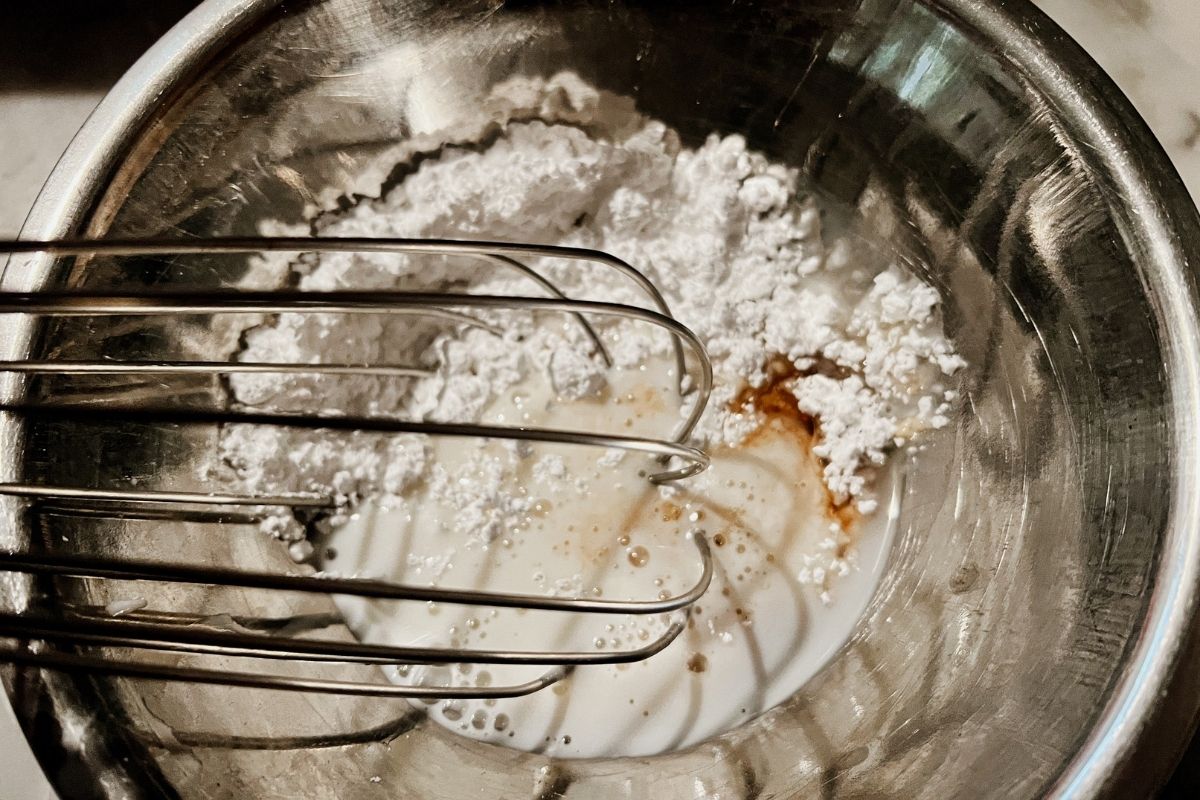
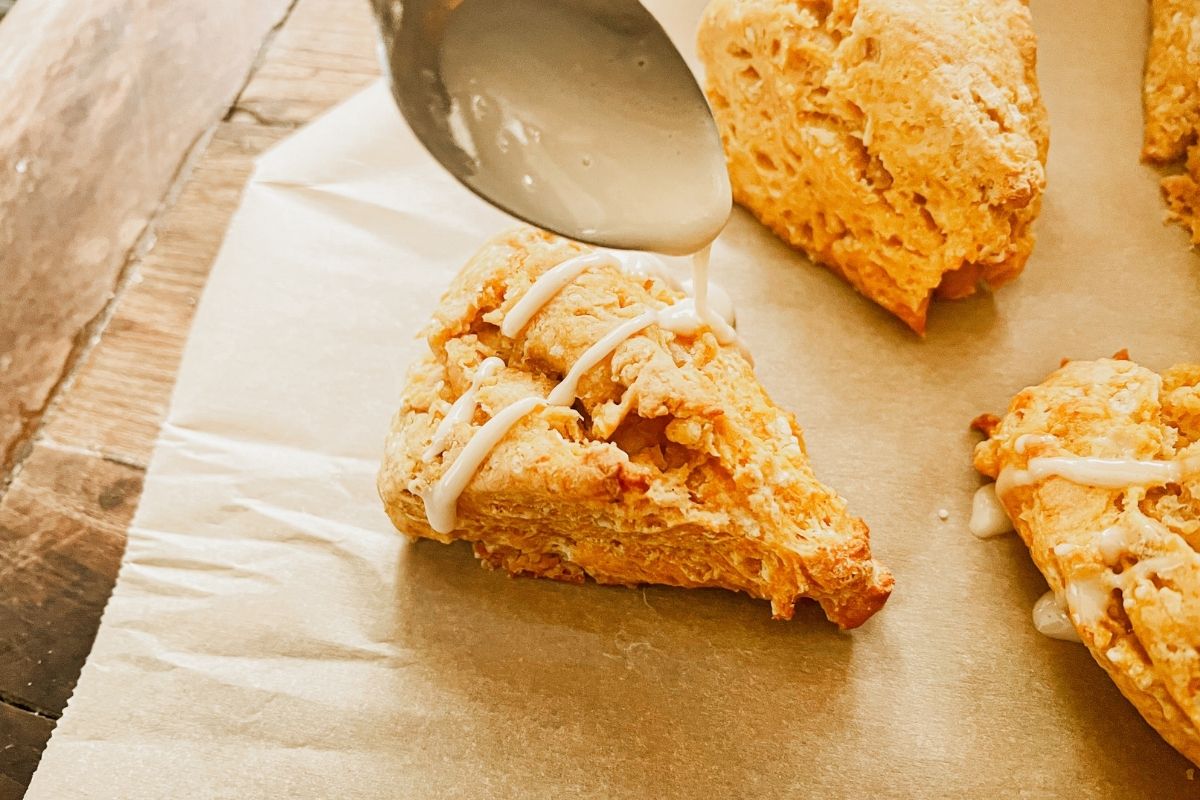
For the glaze, add the maple syrup, powdered sugar and milk to a small mixing bowl. Whisk to combine until the sugar is completely combined. Use a spoon to drizzle the glaze over each scone. Serve warm.
Baking Notes
- Mix until the dough comes together and there is no more loose crumbles. The dough should bind into a ball when placing it in the plastic easily.
- Allow the scones to cool slightly before drizzling the glaze over the tops of the scones.
- Make sure to use cold butter, (ideally frozen butter) and do not grate until you are ready to add it to the flour mixture for best results.
- Scone dough can be stored in the fridge up to 3 days. Allowing it to set in the fridge will help develop the flavor.
- Use either parchment paper to line the baking sheet or I like to use these silicon mats.
FAQ’s
Can this recipe be doubled?
Yes! In fact, I double and have even tripled this recipe to make larger batches for my farmstand bakery. The trick is to divide the dough out evenly so you have the right amount to make 8 scones per disc of dough. You will also need much larger bowl when doing this.
Why is my glaze runny?
If you find you have added too much maple syrup or milk to your glaze, just add a touch more powdered sugar until you get the desired the consistency to your glaze.
Some of my scones are larger than others. How can I fix this?
Once baked you can’t fix this but if you are still in the cutting stages, you can shave off some of the dough from the larger wedges with your bench scraper and press it into the smaller ones. The best way to avoid this for next time is to cut the disk directly in half. Then use your bench scraper to lightly press into the dough to leave imprints of each scone to mark them before making the actual cut. I like to do triangle shaped scones cut from the wedge, however, scones can be cut with a biscuit cutter if preferred.
How To Store
Store leftover scones in an airtight container. Keep at room temparature, not in the fridge as this will make them harden. For longer storage, place the scones in a freezer-safe bag and place in the freezer. To thaw, simply allow the frozen scones to come to room temperature for a fast treat.
Pin For Later
Other Pumpkin Recipes You Might Like…
If you try this recipe and love it, I would appreciate you coming back to give it 5 stars!
Sourdough Pumpkin Scones with Maple Glaze

A delicious pumpkin pastry made with sourdough starter and topped with a maple glaze.
Ingredients
- 2 1/2 cups of all purpose flour
- 1/2 cup of sugar
- 1 tbsp. baking powder
- 1/2 cup sourdough starter (or discard)
- 1/2 cup pumpkin puree
- 2 teaspoons pumpkin pie spice
- 1 stick of frozen butter (1/2 cup)
- 1/2 cup milk
- 1 tsp vanilla extract
- 1 large egg
- For the Glaze
- 2 tbsp. maple syrup
- 1/3 cup powdered sugar
- 1 tsp milk
Instructions
- Start by adding the flour, baking powder, pumpkin spice, and sugar to a large mixing bowl. Set aside.
- In a medium bowl, add the eggs, vanilla, starter, pumpkin puree, and milk. Mix to combine. Set aside.
- Grate the frozen butter with a cheese grater and add it to the flour mixture.
- Use a pastry cutter or your fingers to pinch the butter into the flour mixture until the butter looks like small peas throughout the mixture.
- Pour in the wet ingredients and use a large spoon to mix the entire contents of the bowl until just combined. Don't overmix.
- Spread out a piece of plastic wrap, and pour the mixture on top and wrap it into a ball. Form a disc shape and pop the dough into the fridge for a minimum of 2 hours or up to 3 days.
- When ready to bake, preheat the oven to 400 degrees.
- Remove the plastic wrap and cut the disc into 8 triangles.
- Arrange them onto a lined baking sheet and brush them with milk.
- Bake them for approximately 22 minutes or until golden and puffed up.
- Allow them to cool.
- For the glaze, add the maple syrup, powdered sugar and milk to a small bowl. Whisk to combine until the sugar is completely combined.
- Use a spoon to drizzle the glaze over each scone. Serve warm.
Notes
- Mix until the dough comes it together and there is no more loose crumbles. The dough should bind into a ball when placing it in the plastic easily.
- Allow the scones to cool slightly before drizzling on the glaze.
- Make sure to use frozen butter and do not grate until you are ready to add it to the flour mixture for best results.
- Scone dough can be stored in the fridge up to 3 days. Allowing it to set in the fridge will help develop the flavor.
Nutrition Information:
Yield:
8Serving Size:
1 sconeAmount Per Serving: Calories: 518Total Fat: 7gSaturated Fat: 3gUnsaturated Fat: 4gCholesterol: 28mgSodium: 163mgCarbohydrates: 104gFiber: 3gSugar: 31gProtein: 10g


