Easy Sliceable White Bread (Sandwich Bread)
These Sliceable White Bread loaves make a slightly sweet, soft white bread that is easy to slice and perfect for toast or making sandwiches.

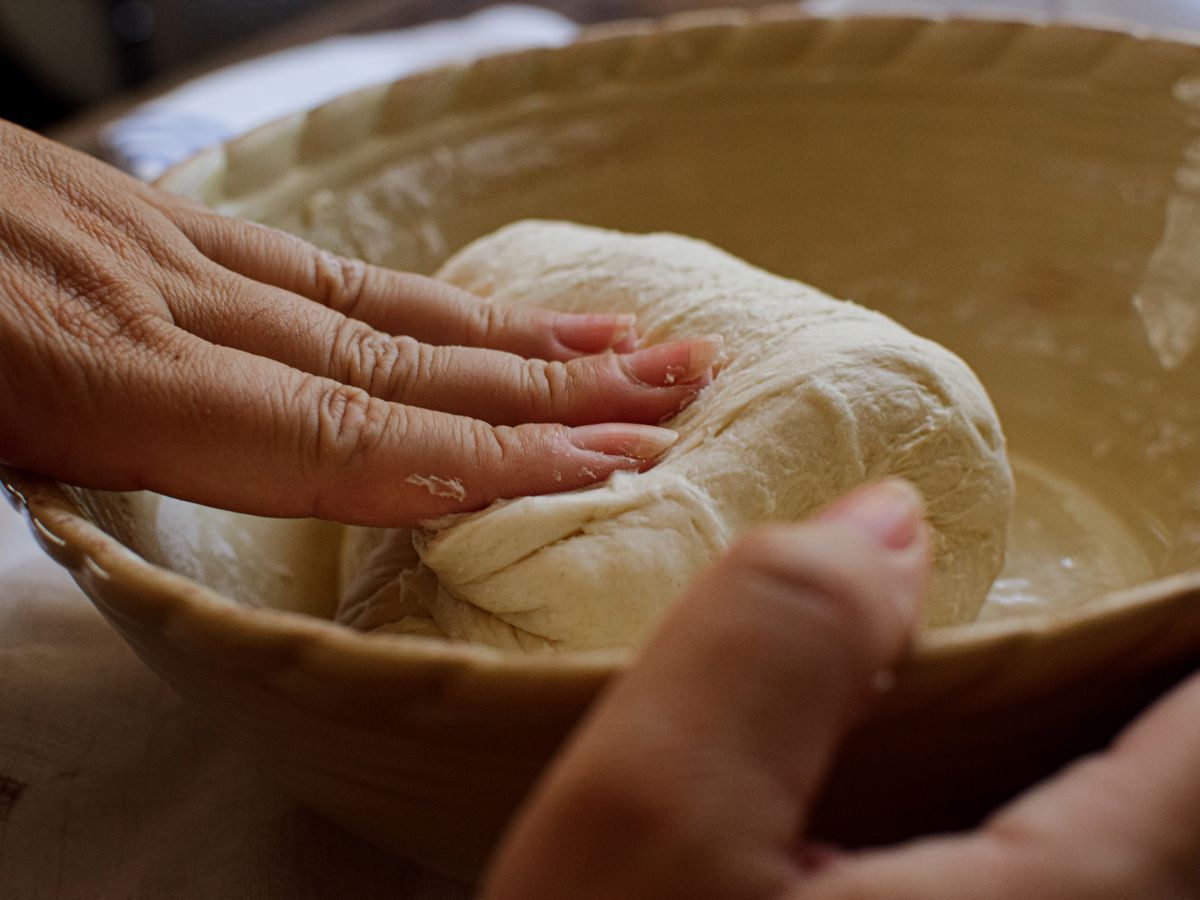
The effort of baking bread is never futile. The time spent kneading balls of dough on the dusted countertop, waiting for the dough to rise. At times, having to wait longer due to the cold kitchen. The result is a warm slice of fresh bread from the oven. Those few moments of pride and pleasure it is having done something completely by hand. It is one of those endeavors worth repeating and for many of us homemakers, a task to find joy in while doing.
I love recipes like these that result in a bread that is healthier then store-bought, and yet works well for many uses. Bread is something most of us can appreciate and there is nothing quite like baking it or tasting it fresh. These Sliceable White Bread Loaves are the perfect bread to bake when wanting versatility in a loaf of home-baked fresh bread.
This recipe will make two loaves. So you can either freeze one for later or have it to eat for the week’s bread. It makes perfect sandwich bread, is great for morning toast, and is delicious accompanying a bowl of soup.
This recipe is pretty straightforward and is very similar to a milk bread recipe as we use milk over water when mixing up the dough. The best part about using yeasted dough to make homemade bread is that it takes much less time to rise. So you can bake these up in the morning to enjoy that same afternoon.
Sliceable White Bread Is…
- Easily sliced for toast or sandwiches
- Simple to freeze and keeps well for up to 3 months
- The best homemade sandwich bread
- Made with basic ingredients
- An easy recipe for homemade white bread
- Delicious with a fluffy texture
Ingredients
Flour- I use organic bread flour for this recipe but you can also use all-purpose flour. Either one will yield similar results. For best results and a wonderfully soft texture, use bread flour.
Sugar- Use white sugar which adds a touch of sweetness to the bread.
Butter- I suggest using good-quality butter, not margarine. You can use salted or unsalted butter for this recipe.
Milk- Using whole milk will give the bread a richer flavor but you can also use 2% milk. Be sure to use warm milk over hot as hot milk will kill the yeast.
Yeast- I use active dry yeast or quick active yeast to make the bread rise quicker. Make sure to wait a few minutes after adding the yeast to the liquid to ensure it is nice and alive. If using a quick active yeast your rise times for the first rise will be reduced by about half.
Salt- I use sea salt for this recipe but standard table salt is fine too. Salt gives the bread a nice flavor.
Eggs– Eggs give the dough a bit of richness that is needed in a sliceable white bread recipe. I use large organic eggs for this recipe.
What You Will Need To Make Them
5 1/2 cups of bread flour (see baking notes)
2 large eggs
1 packet of dry active yeast
1 tbsp sea salt
3 tbsp butter
1 1/2 cups lukewarm whole milk plus more for brushing
1/4 cup plus 1 tsp of sugar
Directions
Begin by heating the milk and melted butter between 100℉-110℉. Pour the milk and butter mixture into the bowl of a stand mixer. Sprinkle in a tsp of sugar and then the yeast over. Allow it to sit for 3 minutes.

Then add the eggs, sugar, salt, and flour to the bowl. Mix with the paddle attachment until blended.

Then switch the paddle for a dough hook attachment and knead the dough for 6 minutes on low speed. The dough should be soft and supple to the touch when ready.

For the first rise, add the dough ball to a lightly greased bowl, cover the top of the dough with a tea towel, and allow it to rise for 2 hours.

Next, remove the dough and divide it into two equal pieces.
To Shape
- Shape the dough into loaves by rolling them out in a rectangle.
- Then grab the bottom third and fold it over itself like folding a piece of paper. Take the top third and fold it down over itself. This last fold should overlap the other layers.
- Use your fingers to pinch the sides closed. You will need to do this firmly to ensure the dough is sealed properly.
- Turn over the loaf onto a work surface and pat around until shaped into logs or an oblong shape.
- Place the loaves seam side down in the loaf pan.


Brush the tops with milk and place a tea towel over them for a second rise. Allow them to sit for another 1 hour.

When ready, heat the oven to 500℉, place the loaves in the oven, and reduce heat to 375℉ for 20-25 minutes until the tops are golden brown and the loaves sound hollow when tapped.

Remove the loaves and place them on a cooling rack. Brush the tops and sides with butter (optional). Allow them to cool on a wire rack before slicing.
Baking Notes
- I use organic bread flour for this recipe but you can use all-purpose with similar results
- Be sure to properly greased or spray your loaf pans
- Use quick or dry active yeast for this recipe
- Remember to allow for the rise times, they are important
- Set a timer to ensure that the dough is kneaded for the proper amount of time
- The dough should have a soft, supple feel after kneading
Ways To Use
This bread makes a good toast and sandwiches but here are some other ways to enjoy this sliceable white bread:
- Makes great grilled cheese sandwiches. Try mozzarella cheese and pesto spread for a twist on the traditional grilled cheese or a traditional American cheese with tomato.
- This bread works well for breakfast sandwiches too. I like to butter the outside and grill it in a pan. Then add eggs, bacon, cheese, or whatever breakfast-style sandwich you like.
- This sliceable white bread is great for using my panini press and you can slice the bread as thick or thin as you’d like.
- I like to make French toast casserole or classic French toast with leftovers.
- These fresh bread loaves are so delicious and soft straight from the oven. Enjoy them fresh with butter as a side for soups or to serve as dinner bread.
FAQ
Can I freezer these loaves?
These loaves freeze well. I like to use gallon-sized freezer bags that I push the air out of. To defrost simply remove them from the freezer and allow them to sit on the counter until defrosted.
Can I substitute all-purpose flour for bread flour?
You can use all-purpose flour for this recipe and it will yield very similar results. However, bread flour rises and gives a better texture overall. I use it anytime I make fresh bread. I like to use King Arthur unbleached bread flour.
What is the best thing to grease my loaf pans with?
I like to use a cooking spray for my loaf pans or you can use a little olive oil or butter to grease the bottom and the sides of your loaf pans.
Is it best to bake the bread in a loaf pan or glass loaf baking dish?
I use both for this sliceable white bread recipe. I find both work great however the metal will result in more browned edges over glassware. Additionally, metal heats up faster and allows for a better rise. A metal loaf pan is often most recommended for baking bread.
Can I use rapid rise yeast instead of standard active dry yeast?
You can. However, the rise times will change. Mix up the recipe as instructed, but for the first rise, you will only need an hour not the two as instructed.
How To Store
To keep sliceable white bread fresh store it in an airtight container at room temperature. I find a plastic bag with a zip top keep the bread soft and fresh when kept on the kitchen countertop.
How To Freeze
To freeze, I like to use a gallon-sized freezer bag. I wrap the loaf tightly in plastic wrap and place it inside the freezer bag. Push all the air out and then seal. Be sure to label the bag. The loaves will be in the freezer for up to 3 months if properly stored.
To defrost, I simply remove the loaf from the freezer and allow it to come to room temperature. You can also pop the loaf into the fridge the day before and allow it to defrost slowly overnight.
Shop This Post
**Disclaimer: This post may contain affiliate links, which means I may receive commissions if you choose to purchase through the links I provide (at no cost to you).
Pin For Later

Check Out Other Reader Favorites
- Sourdough Artisan Loaf
- Quick and Delicious Ricotta Cheese
- How to Make Vanilla Extract | Homemade Vanilla
- Apricot Jam No Pectin Recipe
- Homemade Biscuit Recipe
If you try this recipe and love it, I would appreciate you coming back to give it 5 stars! Or tag me on Instagram @rox_aquaintlife!
Sliceable White Bread Loaves

a slightly sweet, soft white bread that is perfect for slicing
Ingredients
- 5 1/2 cups of bread flour (see baking notes)
- 2 large eggs
- 1 packet of dry active yeast
- 1 tbsp sea salt
- 3 tbsp butter
- 1 1/2 cups lukewarm whole milk plus more for brushing
- 1/4 cup plus 1 tsp of sugar
Instructions
- Begin by heating the milk and butter between 100℉-110℉.
- Pour the milk and butter mixture into a mixer bowl.
- Sprinkle in a tsp of sugar and then the yeast over.
- Allow it to sit for 3 minutes.
- Add the eggs, sugar, salt, and flour to the bowl. Mix with the paddle until blended.
- Switch the paddle for a dough hook and knead the dough for 6 minutes on low. The dough should be soft and supple to the touch.
- Add the dough ball to a greased bowl and allow it to rise for 2 hours.
- After the first rise, flour a surface, knead the dough for 3 minutes, place it back into the greased bowl, and allow it to sit for 30 minutes.
- Remove the dough and divide it into two equal pieces. Shape the dough into loaves by rolling them out in a rectangle. Then grab both sides and pinch them together to bind. Turn over the loaf and pat around until shaped into logs. Place the loaves seam side down in the loaf pan.
- Brush the tops with melted butter and place a tea towel over them for a second rise.
- Allow them to sit for another 1 hour.
- When ready, preheat the oven to 500℉, place loaves in the oven reduce heat to 375℉. Bake them for 20 - 25 minutes or until the tops are golden and the loaves sound hollow when tapped.
- Remove the loaves from the pans and place them on a cooling rack.
- Brush the tops and sides with butter.
- Allow them to cool before slicing.
Notes
- I use organic bread flour for this recipe but you can use all-purpose for similar results
- Be sure to properly grease or spray your loaf pans
- Use quick or dry active yeast for this recipe
- Remember to allow for the rise times, they are important
- Set a timer to ensure that the dough is kneaded for the proper amount of time
- The dough should have a soft, supple feel after kneading
Nutrition Information:
Yield:
16Serving Size:
1Amount Per Serving: Calories: 214Total Fat: 4gSaturated Fat: 2gTrans Fat: 0gUnsaturated Fat: 2gCholesterol: 31mgSodium: 473mgCarbohydrates: 36gFiber: 1gSugar: 2gProtein: 7g